
Upgrading My Digital Ocean Mastodon Instance from 3.5.3 to 4.0.2
For the sake of my own reference, and potentially to help others through the process, I’m documenting and sharing here the steps I took to upgrade my #Mastodon instance, that I host with a #DigitalOcean Droplet, from version 3.5.3 to version 4.0.2. In the past I’ve had a rough go of it with the upgrades so I figure if any of that happens again I’ll have a record of it here for my own reference as well as for others.
One other item to note is that I made the choice not to jump on the new version 4.x release to just make sure any issues that might have been found were worked out. This was a good choice as within a week of the release things were fixed and we are now on version 4.0.2.
The general upgrade steps to version 4 are found on the releases page in GitHub.
Time needed: 1 hour
Update Steps
- Login to your instance console.
You can use either the #Console, in the Digital Ocean Droplet dashboard, or via #SSH using your client of choice.
- Shutdown the Mastodon services.
$ sudo systemctl stop mastodon-*.service
Note: My Digital Ocean Droplet only has 2GB of RAM, and thus when it comes to compiling the assets steps after an upgrade the process will fail most likely due to the amount of memory required to do that. - Change to the `mastodon` user.
su - mastodon - Change to the `live` directory.
cd live - Update #Ruby to version 3.0.4.
$rbenv install --verbose 3.0.4 - Set Ruby 3.0.4 as the global default.
$ rbenv global 3.0.4 - Checkout the 4.0.2 release via #Git.
$ git fetch && git checkout v4.0.2
Note: that I needed to revert myGemfile.lockfile.git checkout -- Gemfile.lock - Install the dependencies.
$ bundle install
then$ yarn install - Run pre-deployment database migrations.
$ SKIP_POST_DEPLOYMENT_MIGRATIONS=true RAILS_ENV=production bundle exec rails db:migrate - Precompile the assets.
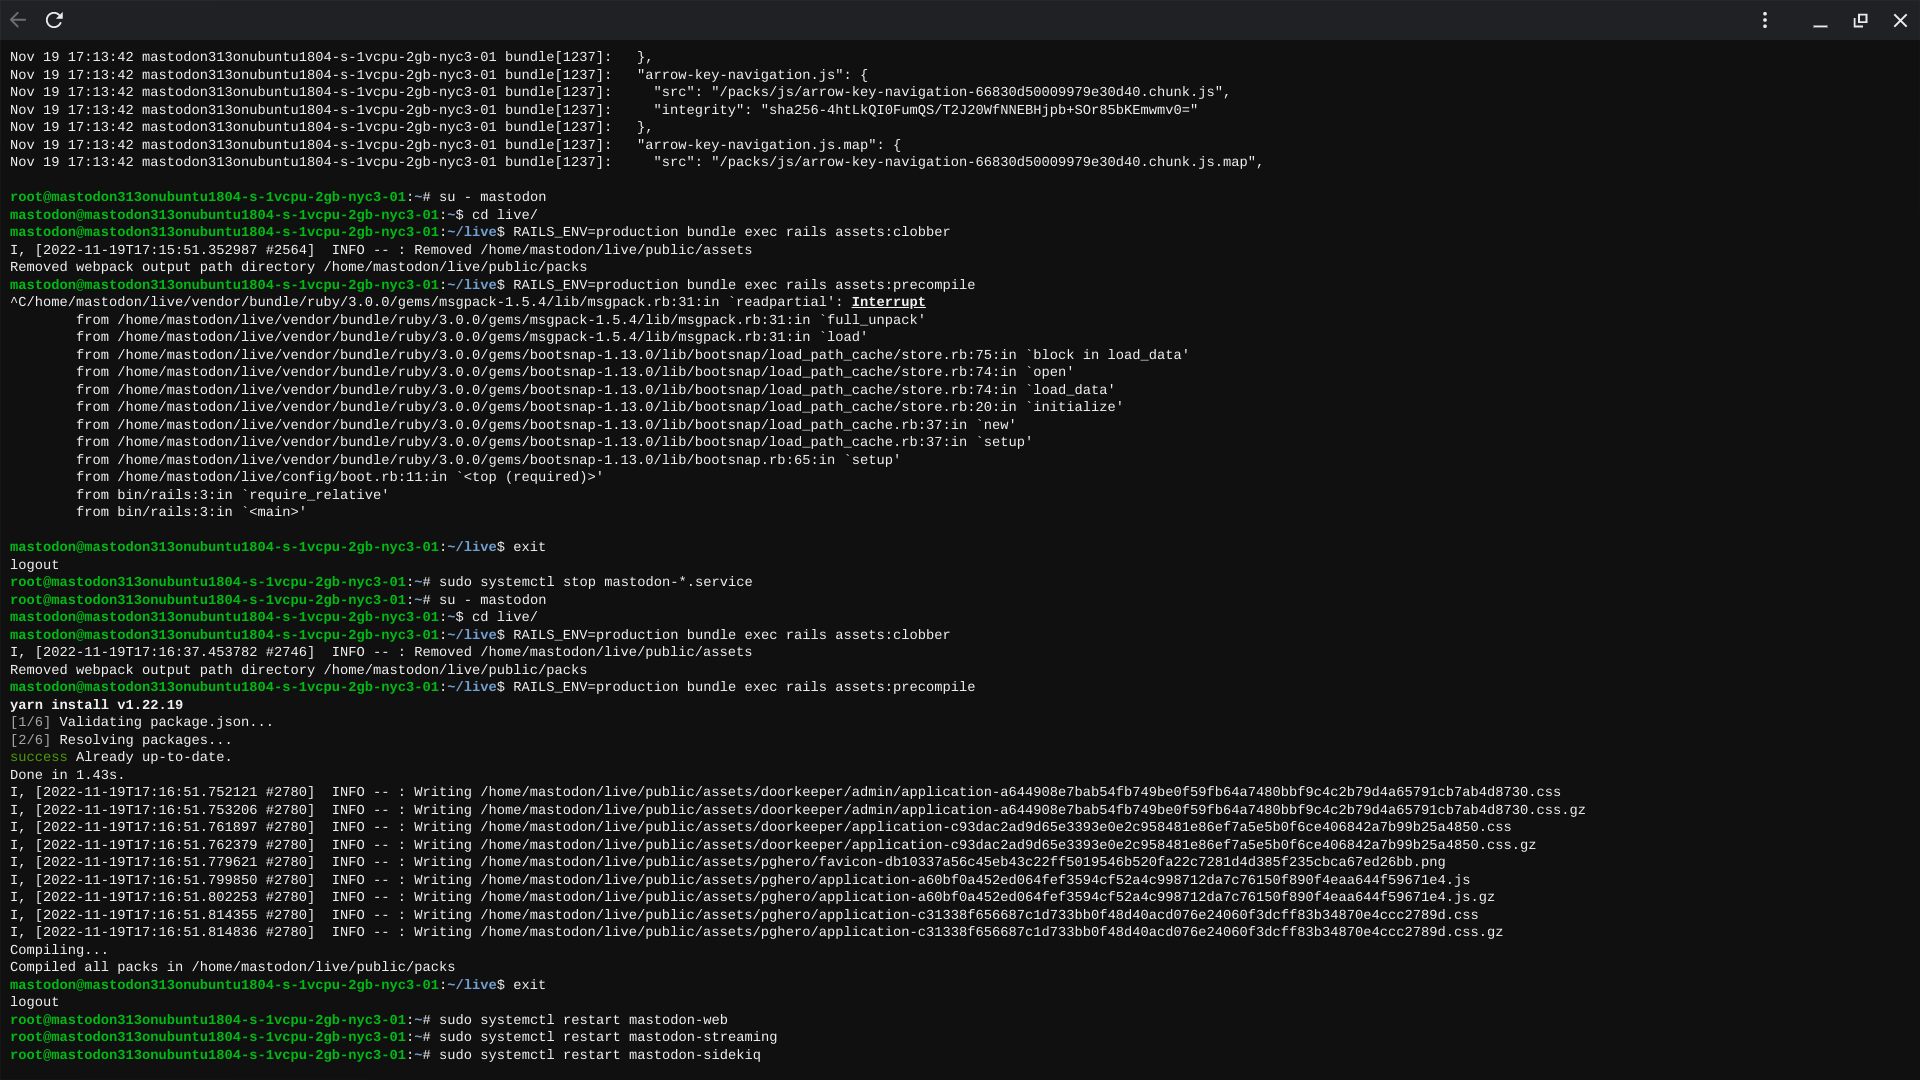
$ RAILS_ENV=production bundle exec rails assets:precompile
Note: If on this step you get a messageCompilation failed:then you may have run out of memory during that step(note my early step about shutting down the Mastodon services). If that happens try to shutdown the services and then also run$ RAILS_ENV=production bundle exec rails assets:clobberand then run the precompile step again. - Restart the Mastodon services.
$sudo systemctl restart mastodon-web$sudo systemctl restart mastodon-streaming$sudo systemctl restart mastodon-sidekiq
Note: It is easier to justexitfrom being in themastodonaccount switching back torootto run those commands. After restarting the services then switch back to themastodonuser for the next step.su - mastodon. - Finish the database migrations.
Make sure you are back in the
~/livedirectory as themastodonuser then run the following command:$ RAILS_ENV=production bundle exec rails db:migrate - Restart the Mastodon services again.
See step 11.


@tim Thanks for sharing. I’m in the process of (slowly, with interruptions) of installing Masto 4 from scratch on a Digital Ocean droplet. When (if?) I complete the process successfully, I’ll put up a post to show what I did.
Thank you so much.
Thank you. Saving this for when I eventually get around to upgrading. I looked at the official documentation and freaked out.
Thanks for posting this Tim, helped a great deal and worked flawlessly
@tim @ricard ah, Tim was faster and I haven‘t seen his reply! Exactly what Tim said ☺️
@pfefferle @tim thank you, both! ?